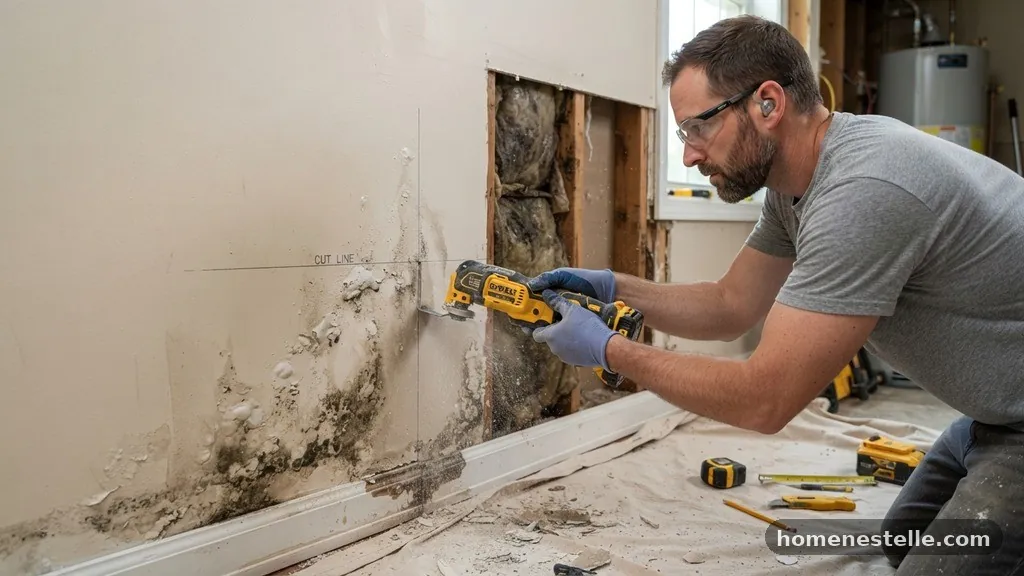
How to Cut Out Water Damaged Drywall in Straight Lines with an Oscillating Tool
When you discover saturated wallboard, the process of cutting out water damaged drywall in straight lines with an oscillating tool becomes the most efficient path toward effective repair. This method minimizes the mess and ensures your patch fits perfectly, which is essential for a seamless finish in any home restoration project.
By using the right blade and following a precise layout, you can remove damaged sections without compromising the surrounding structure. This guide provides the technical steps and safety protocols necessary to master this repair, ensuring you achieve professional results while protecting your indoor air quality during the remediation process.
Assessing the Extent of Water Damage
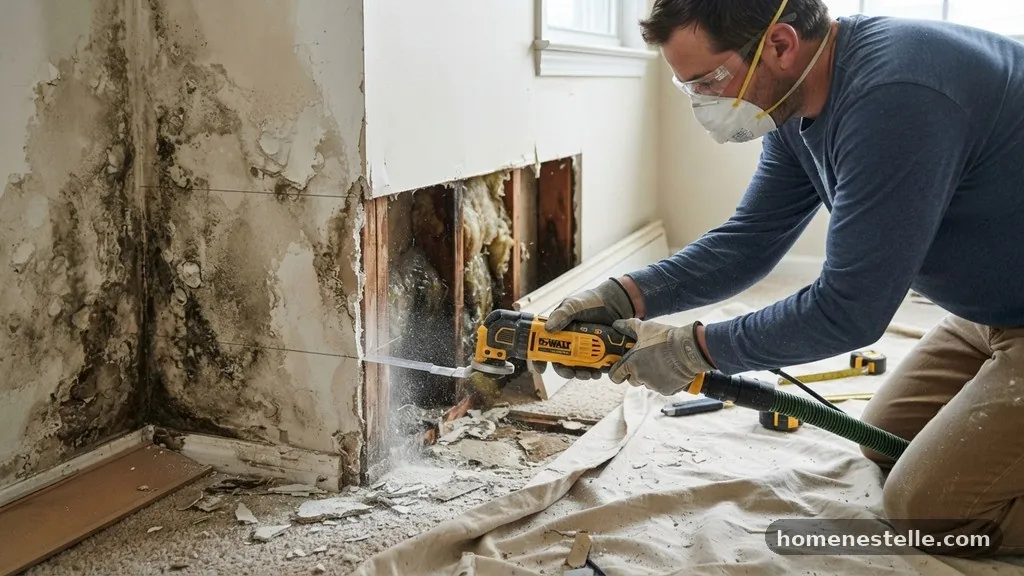
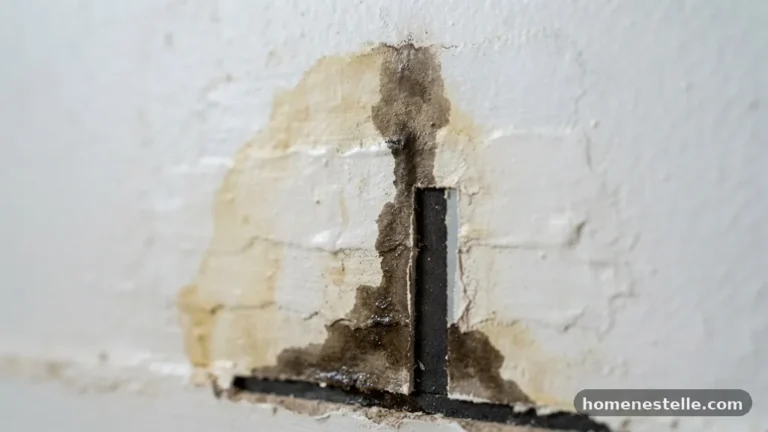
Before you pick up any power tool, you must accurately determine the boundaries of the moisture. Water often travels behind the surface, meaning the area of damage is frequently larger than what is visible to the naked eye.
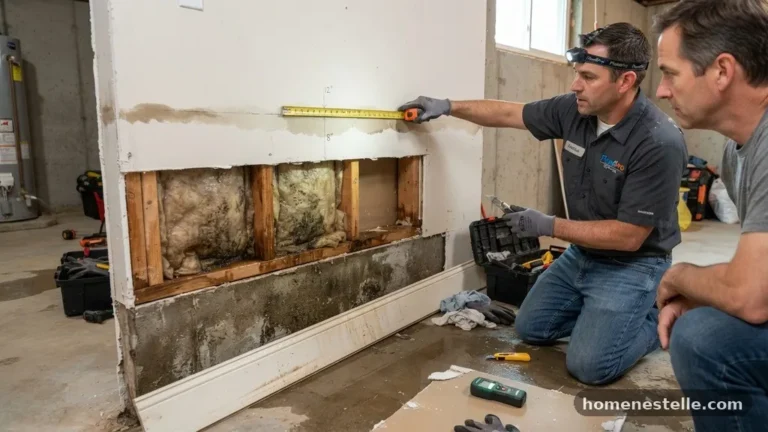
Use a professional-grade moisture meter to scan the walls and identify exactly where the saturation stops. If the reading remains elevated, you need to extend your cut line at least six inches into the dry, unaffected area to ensure all compromised material is removed.
Once you have identified the wet zones, check for signs of mold or structural decay. If you find significant dark staining or a musty odor, you are likely dealing with a situation that requires thorough mold remediation.
You should never cut into walls that harbor active mold colonies without proper containment and ventilation. If the studs or ceiling joists behind the drywall are soft or blackened, you must address the wood’s integrity before installing new panels.
Selecting the Right Oscillating Tool Blades
The effectiveness of your cut depends entirely on the accessory you attach to your oscillating multi-tool. A standard wood and drywall blade is often sufficient for thin gypsum board, but a carbide tooth blade offers superior longevity if you suspect you might hit hidden screws or metal corner beads. Using a dull blade will cause the material to tear rather than slice, leading to ragged edges that are difficult to patch later.
Always verify the compatibility of your blades with your specific tool brand. Most modern multi-tools use a universal fit system, but some proprietary designs require specific adapters.
Choose a blade with a depth gauge or a clear measurement scale if you are working near electrical wires or plumbing lines. This feature helps you control the plunge depth, preventing you from accidentally slicing into hidden infrastructure inside your wall cavity.
Preparing the Workspace and Safety Gear
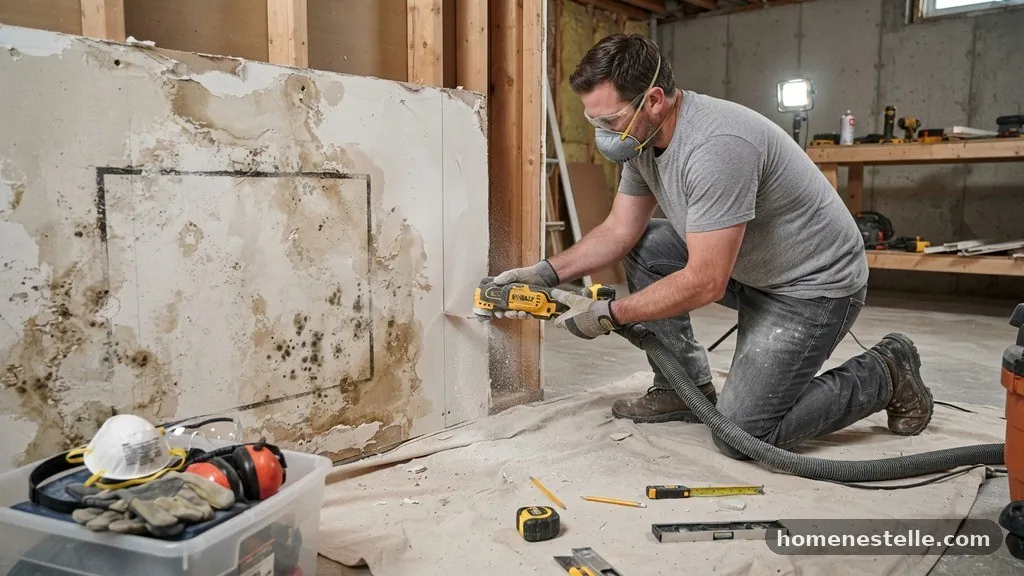
Drywall repair generates a significant amount of fine, airborne dust that can irritate the lungs and eyes. Before you start cutting, you must equip yourself with proper personal protective equipment, including a high-quality N95 respirator and safety goggles.
Cover your floors with heavy-duty drop cloths and seal off doorways to prevent dust from migrating to other parts of your home. If you are working in an area with high moisture, ensure the electricity to the wall is turned off at the breaker panel to avoid accidental shock from unseen wiring.
Proper ventilation is just as critical as wearing a mask. Open windows or place a box fan in a window blowing outward to create negative pressure in the room.
This simple step keeps the dust from settling on your furniture and electronics. If you have sensitive equipment in the room, remove it entirely before you begin the demolition phase, as gypsum dust can infiltrate even the smallest crevices.
Marking Your Cut Lines for Precision
Achieving a perfectly straight cut requires a clear layout before you engage the motor. Use a laser level to project a horizontal or vertical line across the damaged area, ensuring your cut will align with the existing wall studs or ceiling joists.
If you do not have a laser, a standard framing square and a chalk line are reliable alternatives for marking your boundaries. Draw your lines directly onto the wall with a pencil so you have a clear guide to follow.
When planning your cuts, try to align the edges of your removal zone with the center of the wall studs. This provides a solid backing for the new drywall panel, making the installation process much simpler.
If the damage is located between studs, you will need to install additional wood blocking to support the edges of the patch. Marking these locations clearly with a pencil will save you from guessing where to screw the new drywall during the final assembly.
Executing the Initial Plunge Cut
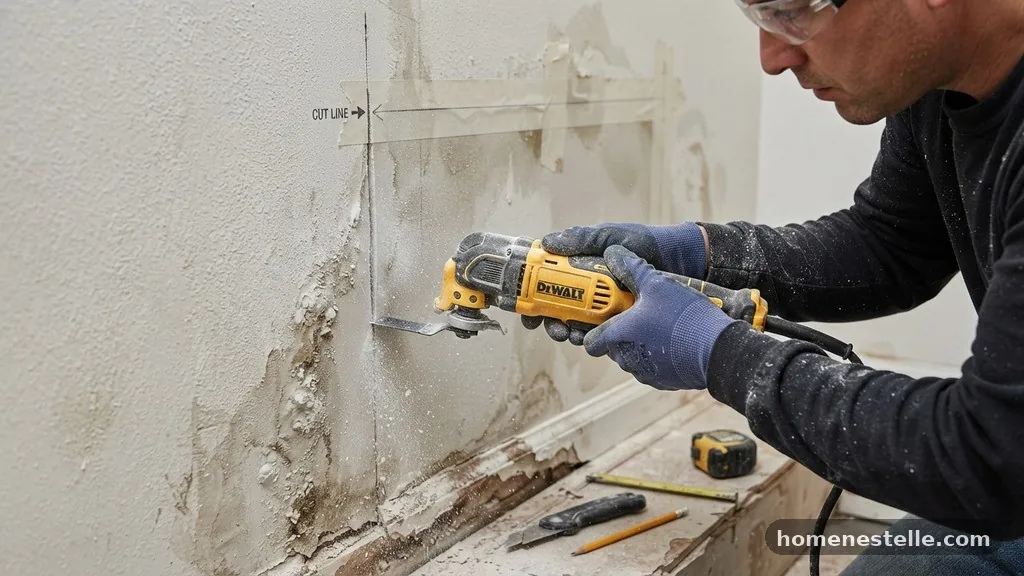
Position your oscillating tool so the blade sits right on your marked line, holding the body of the tool at a slight angle to start the entry. Slowly depress the trigger and allow the tool to bite into the gypsum, maintaining a steady hand to keep the cut straight.
Once the blade has fully penetrated the board, bring the tool to a perpendicular position relative to the wall. This ensures the cut remains uniform through the entire thickness of the panel.
Maintain a consistent cutting speed by letting the tool do the work; do not force it forward too aggressively. If you feel the tool vibrating excessively, you are likely pushing too hard or the blade has become clogged with dust.
Pause periodically to clear the debris from the cut line, which improves visibility and helps the blade teeth stay sharp. A clean, controlled plunge cut is the hallmark of a professional repair and makes the later stages of finishing much faster.
Managing Hidden Obstacles During Demolition
Even with careful planning, you might encounter unexpected items like electrical conduits, plumbing pipes, or HVAC ducts. If your oscillating tool meets resistance that does not feel like wood, stop immediately and investigate.
You can use a small inspection mirror or a borescope to look behind the wall through your initial cut. Never attempt to power through an obstruction, as the damage to your home’s infrastructure will be far more costly to repair than the drywall itself.
If you hit a drywall screw, the oscillating tool will likely spark or slow down significantly. Switch to a manual drywall saw or a utility knife to clear the area around the screw before resuming with the power tool.
Being patient during this stage prevents damage to the blade and keeps your cut lines straight. Once you have cleared the perimeter, gently pull the damaged section away from the wall to reveal the cavity.
Removing Damaged Material and Cleaning Up
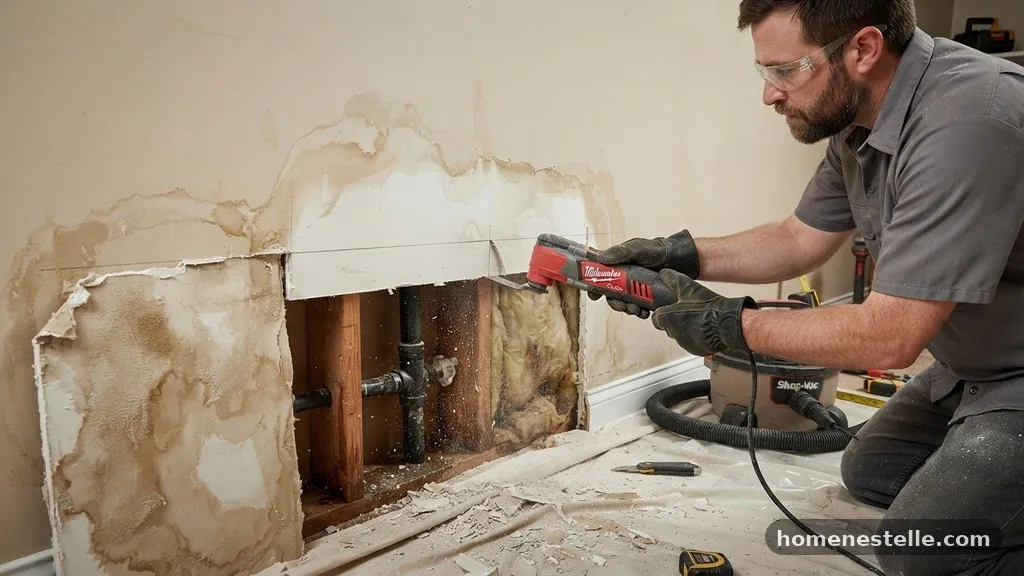
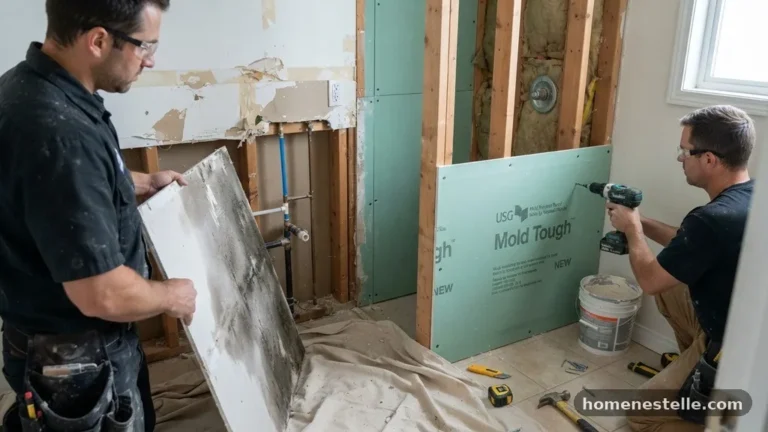
Once the perimeter cuts are complete, you can safely remove the damaged drywall panels. Use a pry bar or your hands to gently pull the board away from the studs, taking care not to damage the surrounding, intact wall surface.
If the drywall is heavily saturated, it may crumble as you remove it, so have heavy-duty debris bags ready. Place the wet material directly into the bags to contain the moisture and prevent further contamination of your workspace.
After the boards are down, inspect the wall cavity for any lingering signs of moisture or mold. Use a vacuum with a HEPA filter to clean all dust and debris from the studs and the floor.
If you notice any dampness on the wooden framing, use a dehumidifier or a portable fan to dry the area completely before moving forward. You must ensure the wall cavity is bone dry before sealing it back up, or you risk trapped moisture causing long-term rot.
Installing New Drywall Backing
Because you cut your drywall in straight lines, you need a stable surface to attach the new patch. If your cuts didn’t land perfectly on a stud, you must add structural support.
Cut pieces of scrap lumber or plywood to fit between the existing studs, positioning them so they sit flush with the front of the framing. Secure these pieces with screws, creating a solid “backer” that will hold the edges of your new drywall patch securely in place.
This structural backing is what prevents your repair from cracking or sagging over time. Check that your backing is recessed slightly—about 1/8 of an inch—from the surface of the existing wall.
This allows you to apply tape and joint compound without creating a noticeable hump in the wall. A stable, properly installed backing is the foundation of a repair that will remain invisible once the final coat of paint is applied.
Comparing Methods for Drywall Removal
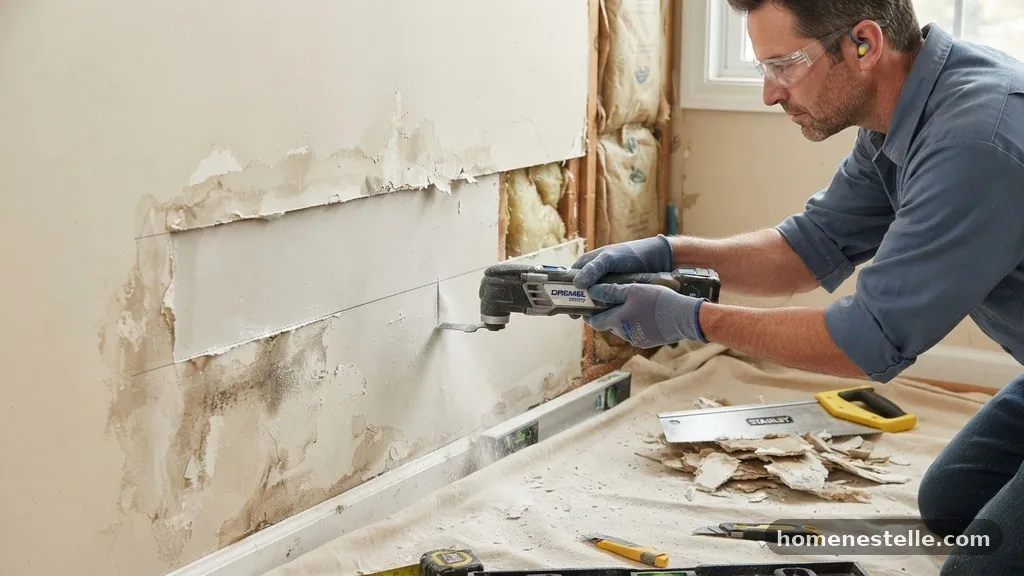
While an oscillating tool is the most precise method for this task, it is helpful to understand how it compares to traditional manual tools. The following table illustrates the differences in efficiency and precision when removing damaged wallboard.
| Method | Precision | Speed | Dust Control |
|---|---|---|---|
| Oscillating Tool | Excellent | High | Moderate |
| Drywall Saw | Low | Moderate | High |
| Utility Knife | Moderate | Low | Excellent |
As shown above, the oscillating tool offers the best balance of speed and precision, though it requires more attention to dust mitigation. A manual utility knife is safer for beginners working near pipes, but it is physically demanding and often results in uneven edges. The drywall saw is the most common tool but often tears the paper backing, which requires extra work to sand and smooth before you can apply your finish.
Finishing the Repair for a Seamless Look
Once your new drywall patch is screwed into the studs and backing, you are ready to finish the joints. Apply high-quality drywall tape over the seams to bridge the gap between the old and new material.
Use a thin layer of joint compound to bed the tape, feathering the edges out several inches onto the existing wall to hide the transition. Let the first coat dry completely, then sand it lightly before applying a second, wider coat.
For a professional finish, you may need a third coat of compound to ensure the transition is perfectly smooth. Always sand between coats with a fine-grit sanding sponge, being careful not to sand through the paper surface of the drywall.
Once the final coat is dry and sanded, wipe the surface with a damp cloth to remove any remaining dust. You are now ready to prime and paint the area, effectively erasing the history of the water damage.
Frequently Asked Questions
Can an oscillating tool damage hidden electrical wires?
Yes, an oscillating tool can easily cut through electrical wiring if you aren’t careful. Always check for the presence of wires using a stud finder or by inspecting the wall cavity before you start your plunge cuts.
How do I minimize the dust created by the oscillating tool?
You can minimize dust by using a shop vacuum attachment if your model supports it, or by draping plastic sheeting to create a localized work zone. Wearing a proper N95 respirator is the most effective way to protect yourself from the fine particles generated during the process.
What is the best blade type for cutting wet drywall?
A carbide-tipped blade is generally preferred because it resists dulling even if you encounter screws or metal corner beads while cutting. It provides a cleaner cut than standard steel blades and maintains its edge for the duration of the project.
Do I need to replace the studs if they are damp?
If the studs are only surface-damp, they can often be dried out with a dehumidifier and fans. However, if the wood feels soft to the touch or shows signs of structural decay, you must replace the damaged sections to ensure the wall remains stable.
Why is it important to cut in straight lines?
Cutting in straight lines makes the installation of the replacement drywall much easier and ensures that your patch fits snugly. It also allows you to finish the joints with less joint compound, resulting in a cleaner, more professional final appearance that blends into the wall.
Essential Tools for the Job
To ensure your repair goes smoothly, keep this list of essential items on hand. Having these ready before you start will prevent unnecessary delays while you are in the middle of the project:
- Oscillating multi-tool with a variety of blades
- Moisture meter to define the scope of damage
- N95 respirator and safety goggles
- Laser level or chalk line for layout
- Cordless drill for installing drywall screws
- Drywall tape and high-quality joint compound
- Utility knife and sanding sponges
By preparing these items, you can focus on the technical aspects of cutting out water damaged drywall in straight lines with an oscillating tool. If you encounter a situation where the damage is extensive, you can find further technical resources at the Environmental Protection Agency’s guide on mold and moisture. Taking the time to prepare correctly ensures your home remains safe and looks as good as new once the repairs are finished.
The process of cutting out water damaged drywall in straight lines with an oscillating tool is a manageable task for any homeowner who values precision and efficiency. By following the steps outlined here, you can isolate the damaged areas, remove them cleanly, and prepare the structure for a seamless repair that restores the integrity of your walls. Remember that the quality of your final result relies heavily on the preparation of your cut lines and the stability of the backing you install.
Always prioritize safety by wearing appropriate respiratory protection and checking for hidden utilities before every cut. If you encounter unexpected structural issues, do not hesitate to consult with a professional to ensure the safety of your home.
With the right tools and a methodical approach, you can successfully tackle this repair and feel confident in the longevity of your work. Feel free to reach out if you have further questions about specific tool settings or advanced patching techniques.