Why Water Stains Bleed Back Through Three Coats of Regular Latex Paint?
Discovering that water stains bleed back through three coats of regular latex paint is a frustrating experience for any homeowner. You might assume that multiple layers of high-quality finish would eventually mask the discoloration, but the chemical nature of these stains often defies standard coverage.
Understanding why this happens requires looking at how water-soluble compounds interact with porous surfaces and the specific limitations of latex-based emulsions. By identifying the root cause, you can stop wasting time and resources on ineffective application methods and finally achieve a clean, professional finish on your walls or ceilings.
The Chemistry of Stain Migration
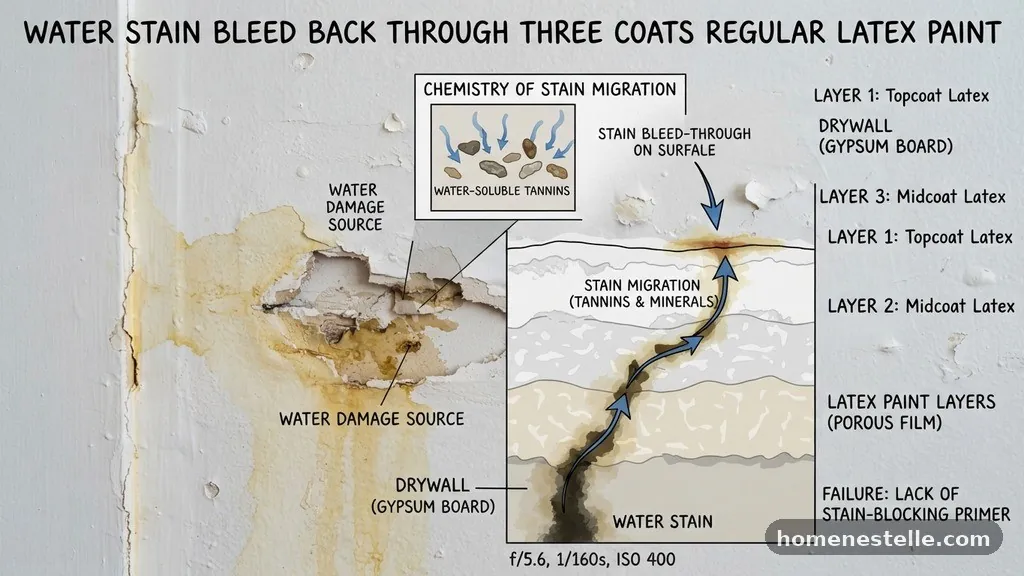
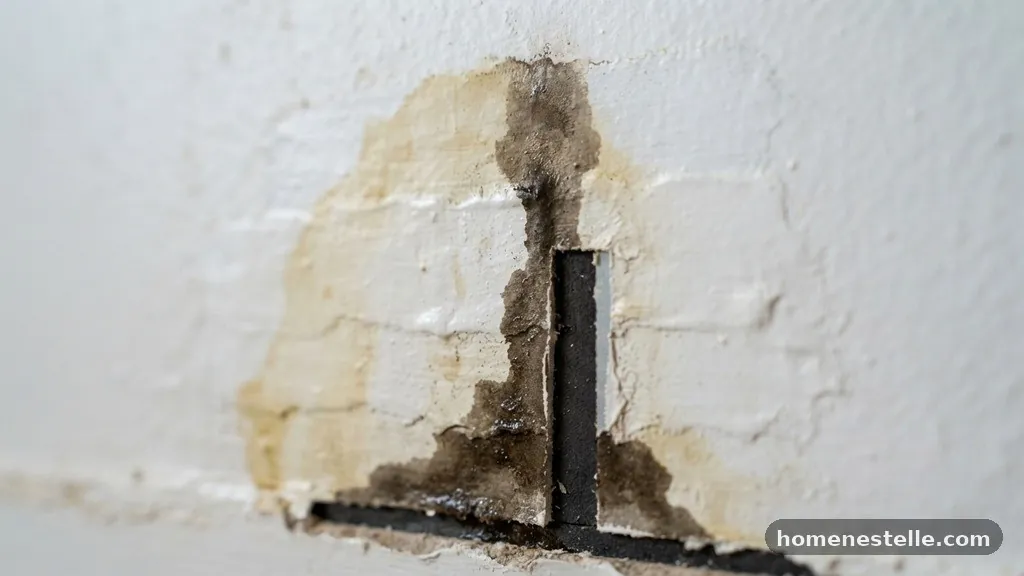
The primary reason you see brown or yellow spots reappearing is that water stains are not just surface dirt; they are often comprised of dissolved minerals, tannins, or other organic matter. When a leak occurs, these substances move with the water into the porous substrate of your drywall or plaster.
As the water evaporates, it leaves these concentrated residues behind deep within the material. Regular latex paint is water-based, meaning it contains moisture that can re-liquefy these dried, water-soluble compounds.
When you apply a coat of latex paint, you are essentially introducing a solvent back into the stain. This process allows the trapped pigments to migrate upward through the fresh paint film as it dries. Because latex paint is designed to be breathable, it does not form a fully impermeable barrier against these migrating solutes.
Even with three coats, you are simply layering more water-based material over a source that is actively feeding the discoloration. The stain effectively hitches a ride to the surface through the microscopic pores of the new paint layer.
Why Standard Latex Paint Fails
Regular latex paint is formulated primarily for color, coverage, and finish, not for chemical isolation. It contains binders and pigments that are excellent at hiding surface-level imperfections, but they are not engineered to block chemical migration.
Most latex products rely on evaporation to dry, which creates an open path for moisture to travel from the wall into the paint film. This characteristic is a major benefit for wall breathability, but it is a significant liability when dealing with water-damaged areas.
If you try to “paint over” the problem, you are essentially treating the symptom rather than the source. Each time you add another layer, you are adding more water to the equation, which can actually expand the stain area. The more liquid you introduce to the drywall, the more the surrounding dried materials are pulled toward the surface.
This is why many people find that the spot looks larger or more diffuse after they attempt to fix it with simple wall paint. You are effectively diluting the stain and spreading it across a wider area of the wall.
Identifying the Root Source
Before you reach for another can of paint, you must ensure the original water source has been completely resolved. If there is still an active, slow leak or a recurring condensation issue, no amount of primer or paint will hold up.
Moisture will continue to accumulate behind the surface, and the pressure will eventually force the stain through any finish you apply. Always check the area for dampness or soft spots in the drywall before beginning any cosmetic repairs.
If the area feels soft or crumbly to the touch, the gypsum core of your drywall has likely been compromised. Paint will not adhere properly to crumbling material, and it certainly won’t cover a surface that is structurally failing.
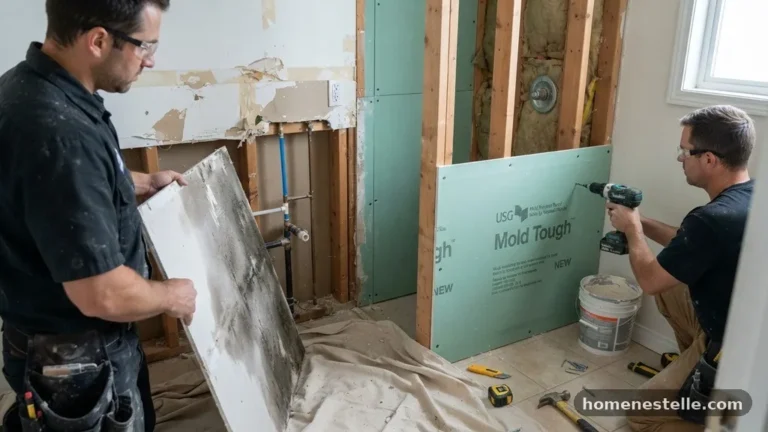
In cases where the damage is severe, the only real solution is to cut out the affected section and replace it with new drywall. You can find technical advice on identifying moisture damage through official resources like the Environmental Protection Agency’s guidance on moisture control.
The Role of Stain-Blocking Primers
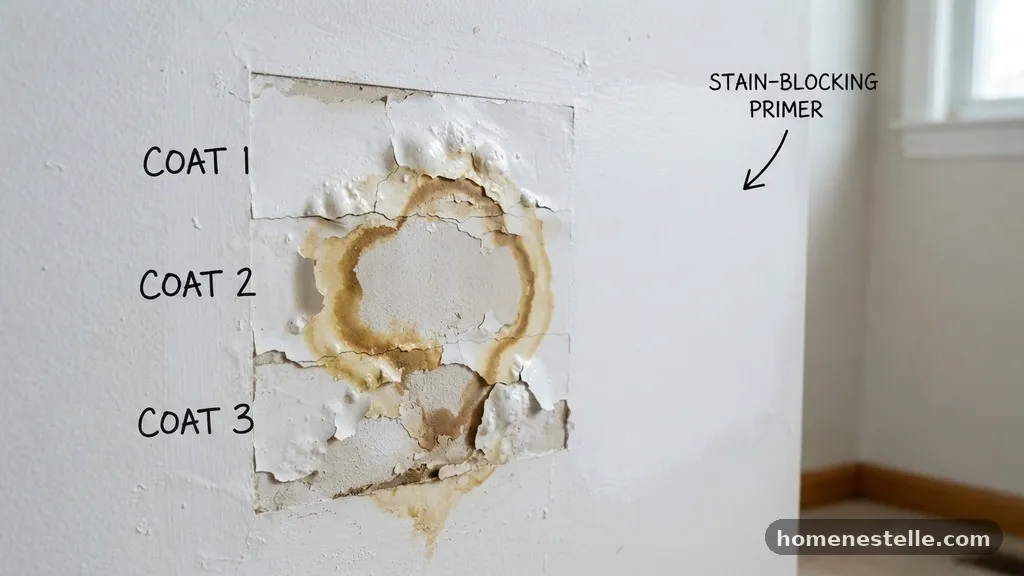
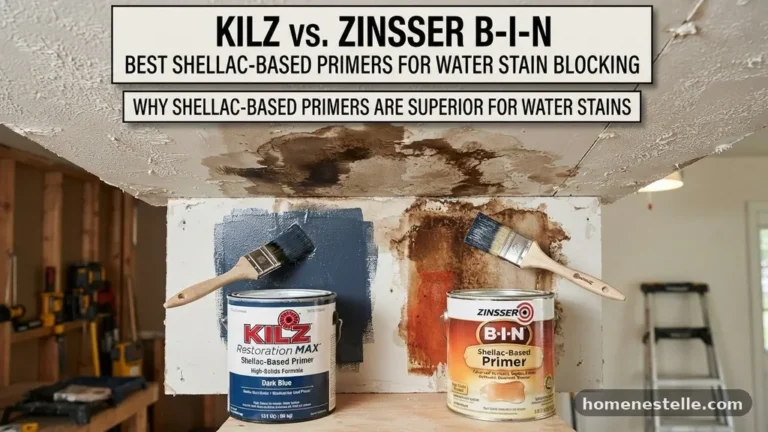
To stop the bleeding, you need a barrier that is chemically distinct from your topcoat. Stain-blocking primers, such as those made with a shellac or oil base, work by sealing the surface with a film that is impervious to water-soluble compounds.
These primers do not re-wet the stain; instead, they lock the pigments in place so they cannot move into the topcoat. Once the primer is fully dry, it acts as a neutral wall that allows your latex paint to sit on top without pulling anything up from underneath.
Oil-based primers are particularly effective because they use a solvent that does not interact with the water-soluble tannins or mineral deposits. Shellac-based primers are even more aggressive, as they dry extremely quickly and provide an almost glass-like seal that prevents any migration.
When choosing a product, look specifically for labels that mention “stain blocking” or “sealing.” If the label just says “primer” or “wall sealer,” it may not have the chemical properties needed to stop a stubborn water mark.
Comparing Common Sealing Methods
When you are ready to tackle the stain, you have several product categories to choose from. Each has its own strengths and weaknesses depending on the severity of the bleed-through.
| Primer Type | Best Use Case | Drying Time |
|---|---|---|
| Shellac-Based | Severe, dark, or oily water stains | 15–30 minutes |
| Oil-Based | General water stains and tannin bleed | 1–4 hours |
| Water-Based Stain Blocker | Light, non-persistent surface discolorations | 1–2 hours |
Shellac is often considered the gold standard for difficult stains because it dries so fast that the stain has no time to migrate. Oil-based primers are a more traditional choice that works well for most home scenarios.
Water-based stain blockers have improved significantly in recent years, but they are still prone to failure on heavy, deep-set stains. If you are dealing with a dark, persistent spot, avoid the water-based options entirely to save yourself the frustration of re-doing the work.
Applying the Correct Primer
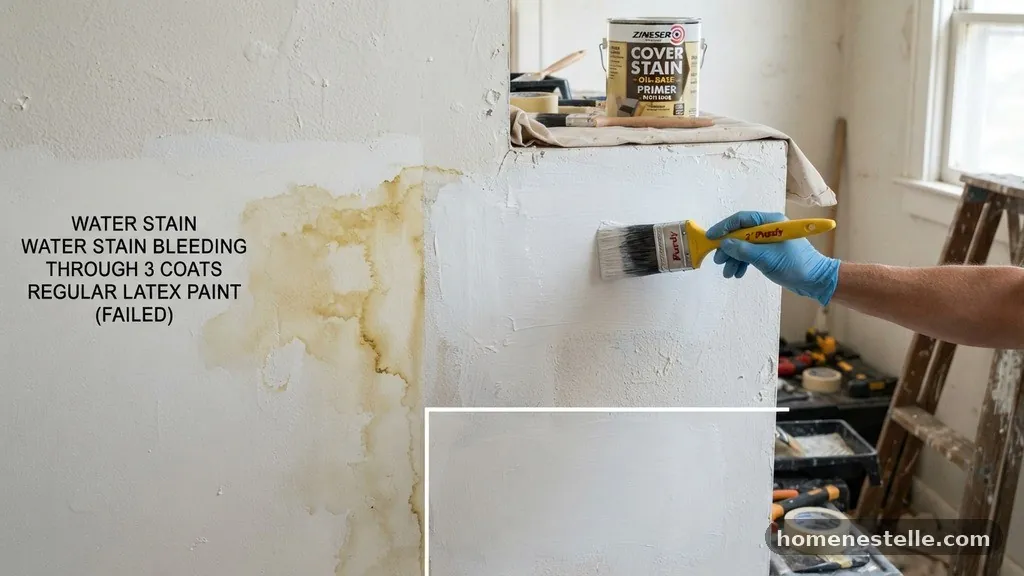
The application method is just as important as the product choice. Start by ensuring the surface is clean and completely dry; any remaining dust or surface grime can prevent the primer from bonding correctly.
If you are using a spray primer, keep the nozzle moving to avoid heavy, uneven buildup that could lead to runs. If you are brushing or rolling, apply a thin, even coat and let it cure for the full time recommended by the manufacturer.
Do not rush the process by applying your topcoat while the primer is still tacky. If the primer isn’t fully cured, it won’t have developed its full chemical resistance. You can tell if the primer is working by observing how it looks as it dries.
If the stain begins to show through the primer immediately, you may need a second coat of the primer before moving on to your latex topcoat. Never apply regular paint until the primer has successfully hidden the stain entirely.
Why Three Coats Is Not the Solution
Many homeowners fall into the trap of thinking that more coats equal more coverage. While this works for changing the color of a wall, it is ineffective against chemical migration.
Latex paint is a porous film, and adding multiple layers just creates a thicker path for the stain to travel through. You are essentially building a larger sponge that is still connected to the original source of the discoloration.
Furthermore, applying excessive layers of paint can cause “picture framing” or uneven textures where the repair was made. If you have already applied three coats, you likely have a significant build-up of material that will need to be sanded down before you apply a proper primer.
If you don’t sand, the new primer might not adhere well to the thick, uneven layers of latex you previously applied. You are better off stopping at one or two coats of a high-quality primer and then moving to your finish paint.
Managing Surface Texture
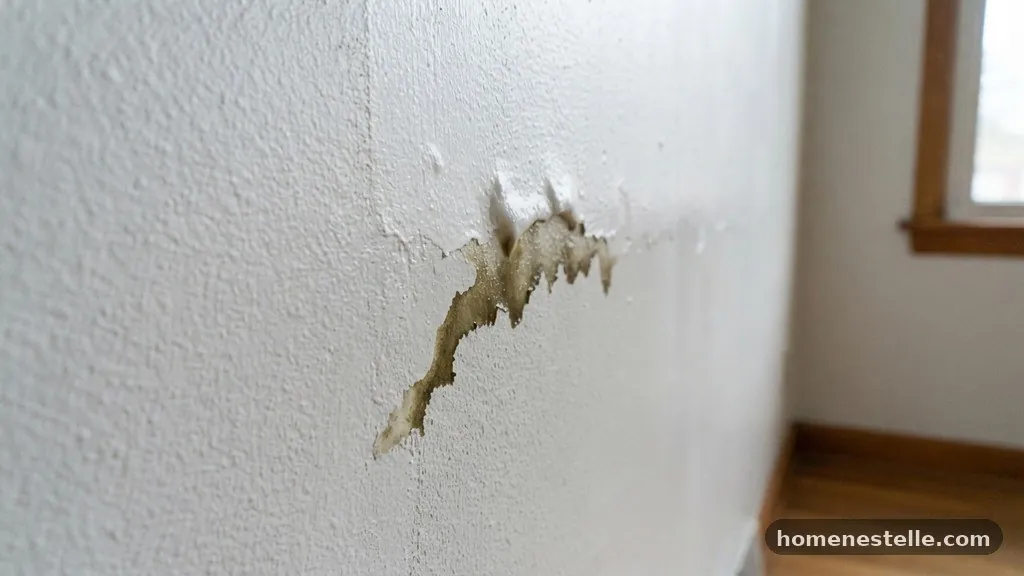
Water stains often leave behind a raised, crinkly, or uneven texture on the drywall surface. If you simply paint over this, the texture will remain visible even if the color is successfully blocked.
Before you begin the priming process, use a fine-grit sandpaper to smooth out any raised edges or bubbling in the drywall paper. This ensures that the final result looks seamless and matches the surrounding wall.
If the drywall paper is severely damaged, you might need to apply a thin layer of spackle or joint compound to level the area. Always prime the patch after sanding, as raw joint compound is highly porous and will suck the moisture out of your paint.
By creating a smooth, sealed surface, you give your finish paint the best possible chance to look uniform. Remember that paint reflects light, and any imperfection in the surface will be magnified once the job is finished.
The Danger of Surfactant Leaching
Sometimes, what looks like a water stain is actually a phenomenon called surfactant leaching. This happens when the surfactants (the soap-like ingredients that help paint stay stable in the can) move to the surface of the paint film as it dries.
This often appears as sticky, glossy, or brown spots that look suspiciously like water damage. If you have been painting in a humid environment or with poor ventilation, you might be dealing with this instead of a traditional water stain.
Surfactant leaching is particularly common with high-quality, high-sheen paints that have a higher concentration of these additives. If you suspect this is the case, you can often wash the spots off with a damp cloth, as they are water-soluble.
However, if they keep returning, you may need to use a different type of paint or improve the airflow in the room during the drying process. Unlike true water stains, these are a surface issue that usually doesn’t require a heavy-duty oil-based primer.
Choosing the Right Topcoat
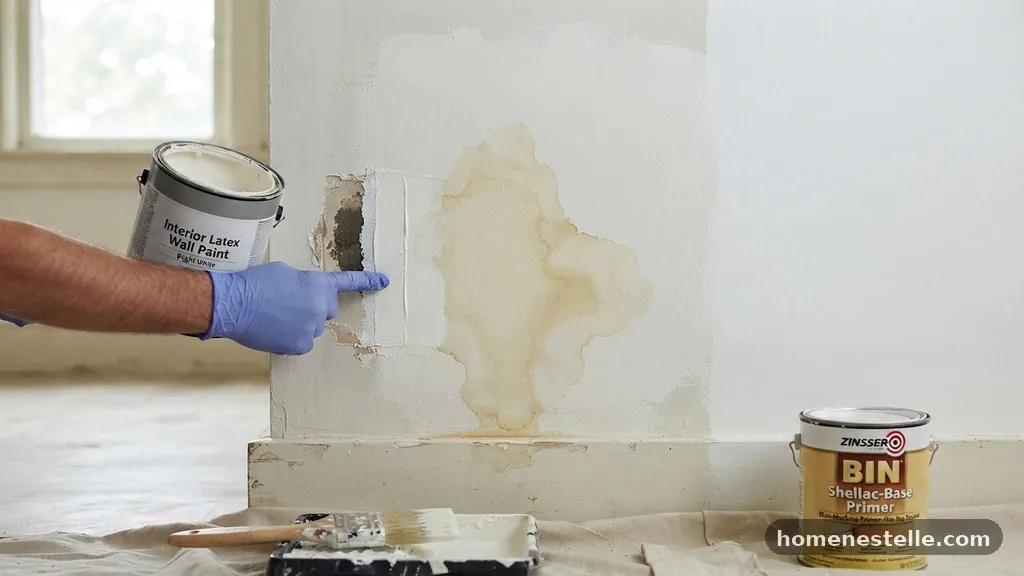
Once you have successfully blocked the stain with an appropriate primer, you are free to use your regular latex paint for the finish. The primer acts as a bridge, preventing the latex from interacting with the stain while providing a surface that the paint can grip.
You should find that one or two coats of your final color are now sufficient to provide a perfect finish. Because the stain is no longer able to migrate, you won’t see it bleeding through even after the paint has fully cured.
If you are painting a ceiling, consider using a flat finish, as it hides imperfections better than eggshell or semi-gloss. If you are painting a wall, choose a sheen that matches the rest of the room.
By using the right sequence—clean, sand, prime with a stain-blocker, and then topcoat—you eliminate the cycle of frustration. This systematic approach saves you money on paint and ensures the job is done correctly on the first attempt.
Frequently Asked Questions
Why does the stain get darker after I paint over it?
The stain appears darker because the water content in the latex paint acts as a solvent, re-liquefying the trapped pigments and bringing them to the surface. As the paint dries, these pigments concentrate at the top layer, making the spot look more prominent than it did before.
Can I use hairspray to seal a water stain?
While some DIY advice suggests using hairspray to seal stains, it is not a professional or reliable solution. Hairspray is not designed for wall surfaces and can create adhesion issues for your paint, leading to peeling or cracking over time. Always use a dedicated stain-blocking primer.
Does the type of drywall matter?
Yes, standard drywall is highly porous and will absorb water and stains very quickly. If the drywall is old or has been wet multiple times, its integrity may be compromised. In such cases, no amount of primer will provide a long-term fix, and replacing the board is the only permanent solution.
How do I know if the leak is really gone?
Check the area with a moisture meter if you want to be certain, or look for signs of ongoing bubbling or softening. If the surface is firm and dry to the touch, and you have confirmed the source of the leak (like a roof or pipe issue) is repaired, you are safe to proceed.
What is the best way to apply the primer?
For small spots, a brush is often sufficient, but for larger areas, a roller provides a more even coat. If you are dealing with a very stubborn, dark stain, consider using a spray primer to get a light, uniform, and fast-drying layer that won’t disturb the underlying surface.
Achieving a Lasting Finish
Addressing the issue of why water stains bleed back through three coats of regular latex paint is all about understanding the chemical interaction between your paint and the substrate. By switching from a standard latex approach to a specialized stain-blocking primer, you create a barrier that effectively halts the migration of tannins and minerals. This simple change in your process turns a recurring headache into a straightforward repair project.
Remember that successful painting relies on proper surface preparation and the right choice of materials for the specific problem at hand. Once you have effectively sealed the area, your topcoat will perform exactly as expected, leaving you with a clean, professional look that lasts. If you continue to struggle with stubborn spots, don’t hesitate to consult with a professional painter or hardware specialist to ensure you have the best product for your specific wall material.